Introduction
Sometimes, we need to run Python scripts at regular intervals to complete specific tasks. However, as humans, we often forget or remember too late. Operating systems offer built-in capabilities to schedule the execution of commands or programs when needed. While Linux simplifies task automation through the ‘crontab’ utility, Windows also offers similar functionality. With the right know-how, you can effectively automate tasks in Windows,
Windows Task Scheduler
Task Scheduler is a built-in utility in Microsoft Windows operating systems that allows users to automate various tasks and processes on their computer. It provides a way to schedule the execution of programs or scripts at specific times or in response to specific events. Task Scheduler is a valuable tool for improving productivity, automating maintenance tasks, and ensuring that critical processes run on time.
Task Automation Using Task Scheduler
To automate Python scripts, it’s crucial to identify the Python path on your system. You can do this by running the following command in the Command Prompt: where python. Take note of the first output displayed as it will provide the Python path.

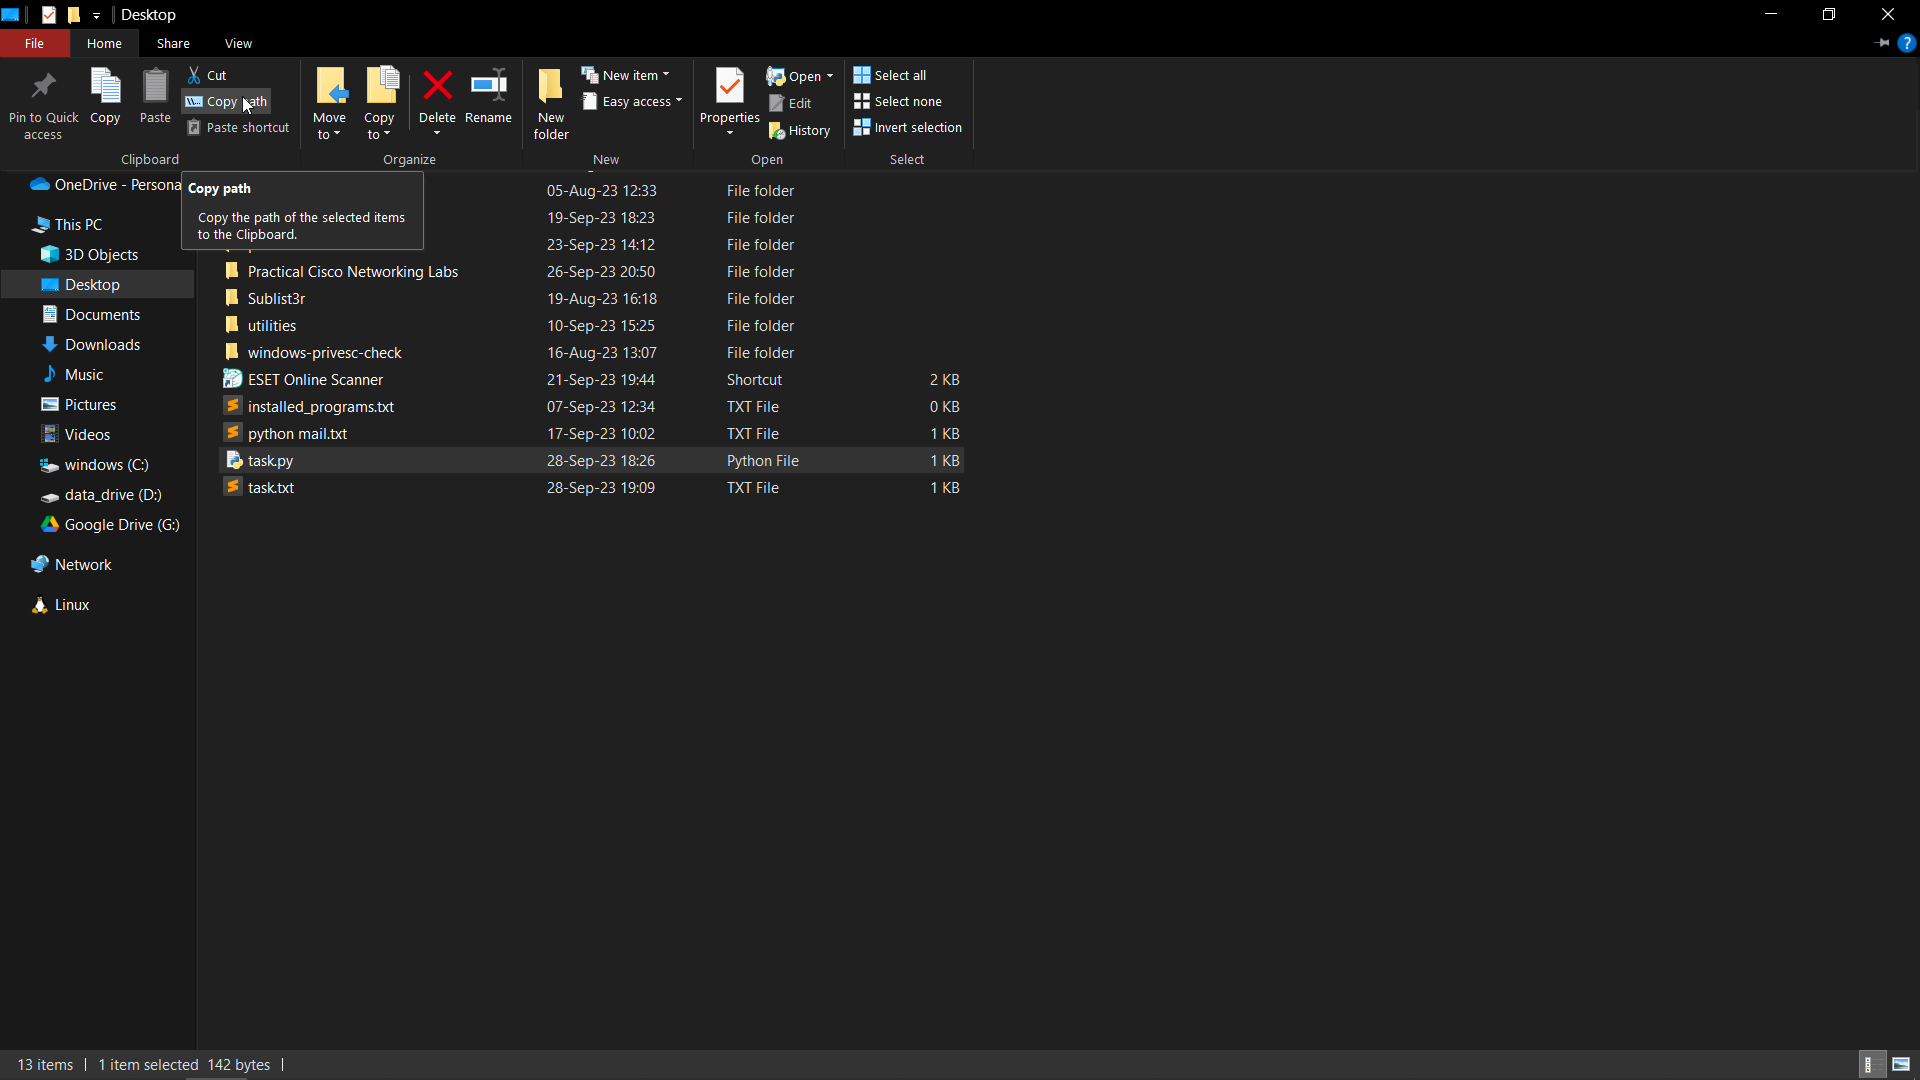
Next, make sure to take note of the absolute path of the directory where your Python “.py” file is located, as this will be the location from which you’ll execute your Python script.

Here are steps outlining how to schedule a task to execute daily at a specific time. Keep in mind that this is just one example, and Task Scheduler offers a wide range of options for automating tasks. Feel free to explore and be creative with your task scheduling to meet your specific needs.
Step 1: Open Task Scheduler
Press Win + S to open the Windows search bar. Type “Task Scheduler” and select it from the search results to open the Task Scheduler application.
Step 2: Create a Basic Task
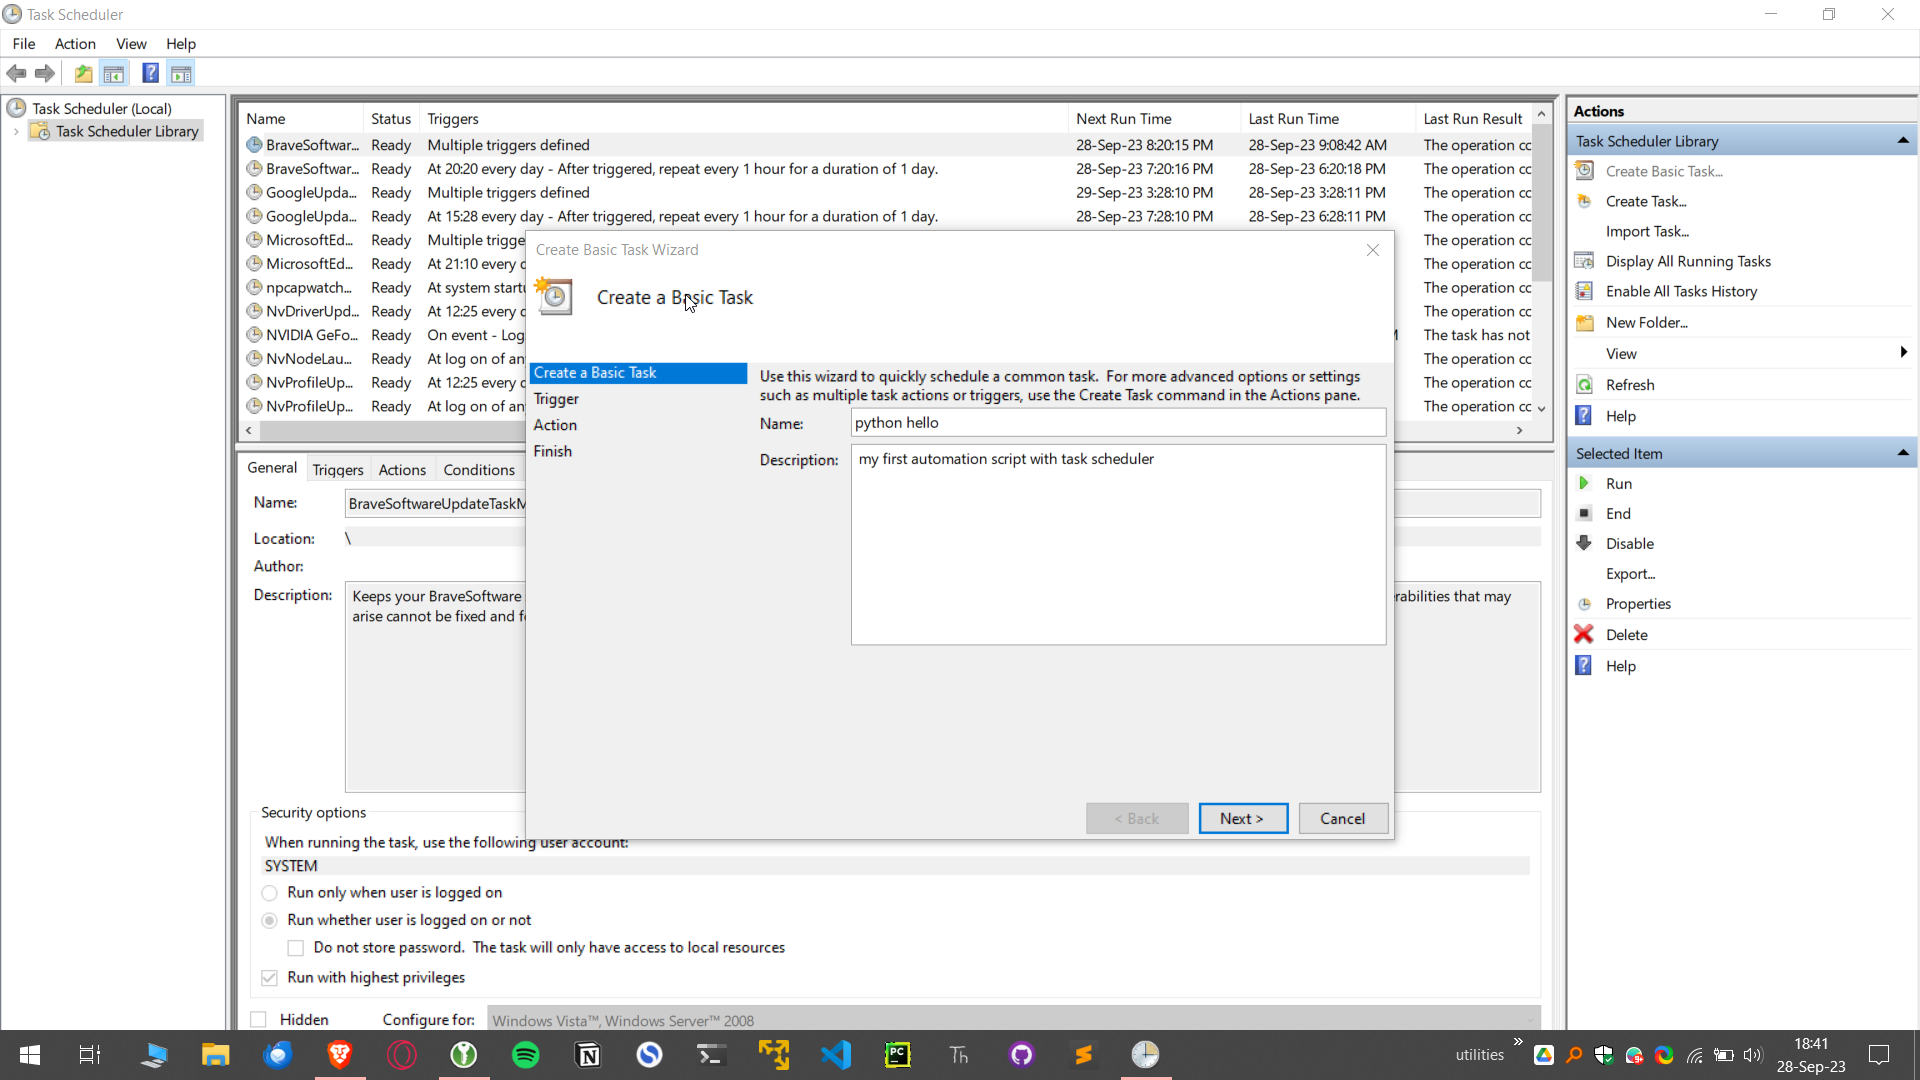
In the Task Scheduler window, click on “Create Basic Task…” in the right-hand panel. This will start the task creation wizard.

Step 3: Name and Description
In the wizard, give your task a name and an optional description. Click “Next.”
Step 4: Trigger
Choose “Daily” as the trigger type since you want the script to run daily. Click “Next.”
Step 5: Daily Trigger Settings
Specify the start date and time for your daily task. Choose whether you want the task to recur every day or on specific days of the week. Click “Next.”
Step 6: Action
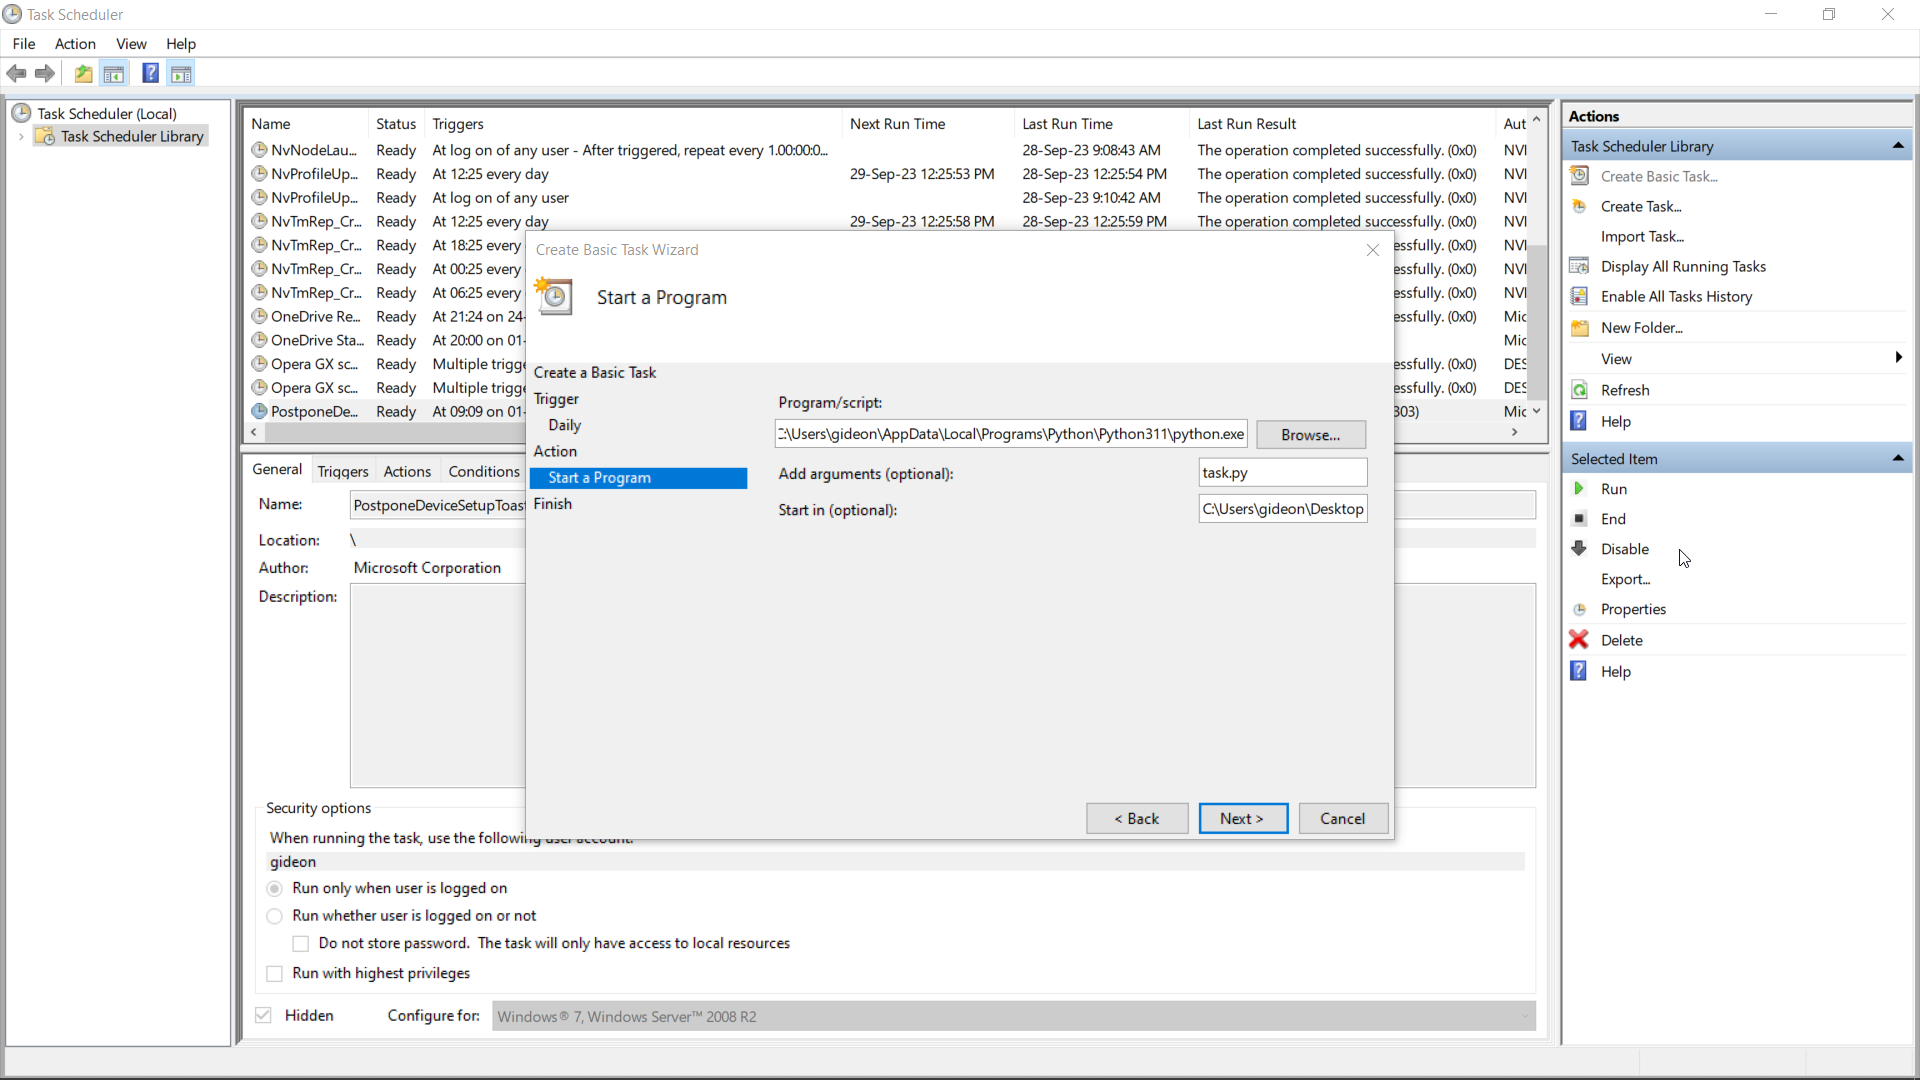
Select “Start a program” as the action to perform and click “Next.”
Step 7: Program/script
In the “Program/script” field, enter the path to your Python executable. Typically, this is located at C:\PythonXX\python.exe, where “XX” represents your Python version number.
In the “Add arguments (optional)” field, enter the full path to your Python script that you want to run daily.
In the “Start in (optional)” field, specify the directory where your Python script is located.
 Click “Next.”
Step 8: Review
Review your task settings. If everything looks correct, click “Finish.”
Step 9: Task Confirmation
After clicking “Finish,” you’ll see a summary of your task. To make any additional changes, click “Open the Properties dialog for this task when I click Finish.” Otherwise, click “Finish.”
Step 10: Task Properties (Optional)
If you clicked “Open the Properties dialog,” you can further customize your task in the Properties window. You can set conditions, triggers, and other settings as needed.
Step 11: Running the Task
The task has been set to run on a basis. To execute it manually simply right click on the task, in the Task Scheduler Library. Choose the option “Run.”
Your Python script will then be executed automatically every day at the designated time as configured in Task Scheduler. Please ensure that your script is programmed to carry out the intended task without requiring any user input as scheduled tasks operate silently in the background.